How to Draw a Rose: An Easy Step-by-Step Guide for Beginners

My name is Chendu, and today, you and I are going to tackle what I like to call the Mount Everest of flower drawing: the rose. You've seen them everywhere—in paintings, tattoos, love stories—and they're just the definition of classic beauty. You've probably thought to yourself, "There is no way I could ever draw that." I know I did. All those overlapping petals, the complex shadows, the way it seems to spiral from the center... it feels like a lot. I completely get it. And I'm not ashamed to admit that my first hundred attempts looked more like crumpled cabbages than romantic flowers.
But let's get one thing straight right now. You can do this. I promise you. The secret to a beautiful rose drawing isn't some mystical artistic talent you're born with. It's a method. For me, it was about discovering a series of simple, repeatable steps. It's about seeing the flower not as one impossible object, but as a collection of easy-to-draw shapes that fit together like a puzzle. This isn't going to be one of those stuffy, technical guides. This is just you and me, with a pencil and a piece of paper, unlocking a skill that I know is inside you. Trust me.
The Why: The Rose is The Ultimate Teacher
So, you're thinking, why put myself through this? Why not start with something simpler, like the daisies we cover in our main guide to drawing flowers? Because I truly believe that if you can learn to draw a rose, you can learn to draw almost anything. A rose teaches you the most important principles of drawing in one beautiful package:
- Seeing in Layers: For me, this was a game-changer. A rose forces you to think about what's in front and what's behind. This concept of layering and overlap is fundamental to creating depth and realism in any drawing you ever make.
- Understanding Form and Shadow: The cup-like shape of a rose is a perfect exercise for learning how light wraps around a curved object. I found that nailing the shadows inside the petals is the secret ingredient to making a rose drawing look three-dimensional.
- Combining Structure and Chaos: At its heart, a rose has a clear, spiraling structure. But its outer petals can be wild and unpredictable. I love how it teaches you to build on a solid foundation while still allowing for organic, natural-looking details.
I'll be honest, the first time I drew a rose I was proud of, it was a huge confidence boost. It was my proof that I could take something that looked incredibly complex and, by breaking it down, make it my own. That's a superpower for an artist.
A Brief History: The Rose in Art and Culture
I find it fascinating that the rose isn't just a flower; it's a symbol that has been woven into our history for thousands of years. It has meant everything from love and beauty to war and politics. The ancient Romans connected it to Venus, the goddess of love. In the Middle Ages, it became a sacred symbol of the Virgin Mary. During England's "War of the Roses," it was literally the logo for two warring houses.
Artists, like me, have always been captivated by it. I've spent hours looking at the lush, detailed roses in 17th-century Dutch still life paintings and Georgia O'Keeffe's huge, modernist interpretations. The rose has always been a way for us to explore life, death, beauty, and decay. When you and I sit down to create our own rose drawing, we're not just sketching a flower; we are participating in a rich, ancient conversation. We're adding our own voice to a story that artists have been telling for centuries. It’s a powerful thought, isn’t it?
The How-To: My Action Plan for a Perfect Rose Drawing
Alright, let's talk strategy. This is the core of it all. I want you to forget trying to copy a photo line-for-line. We're going to build this rose from the inside out, just like how I learned and just like how a real one grows. I'll walk you through it, step-by-step. Grab your pencil. Let's do this together.
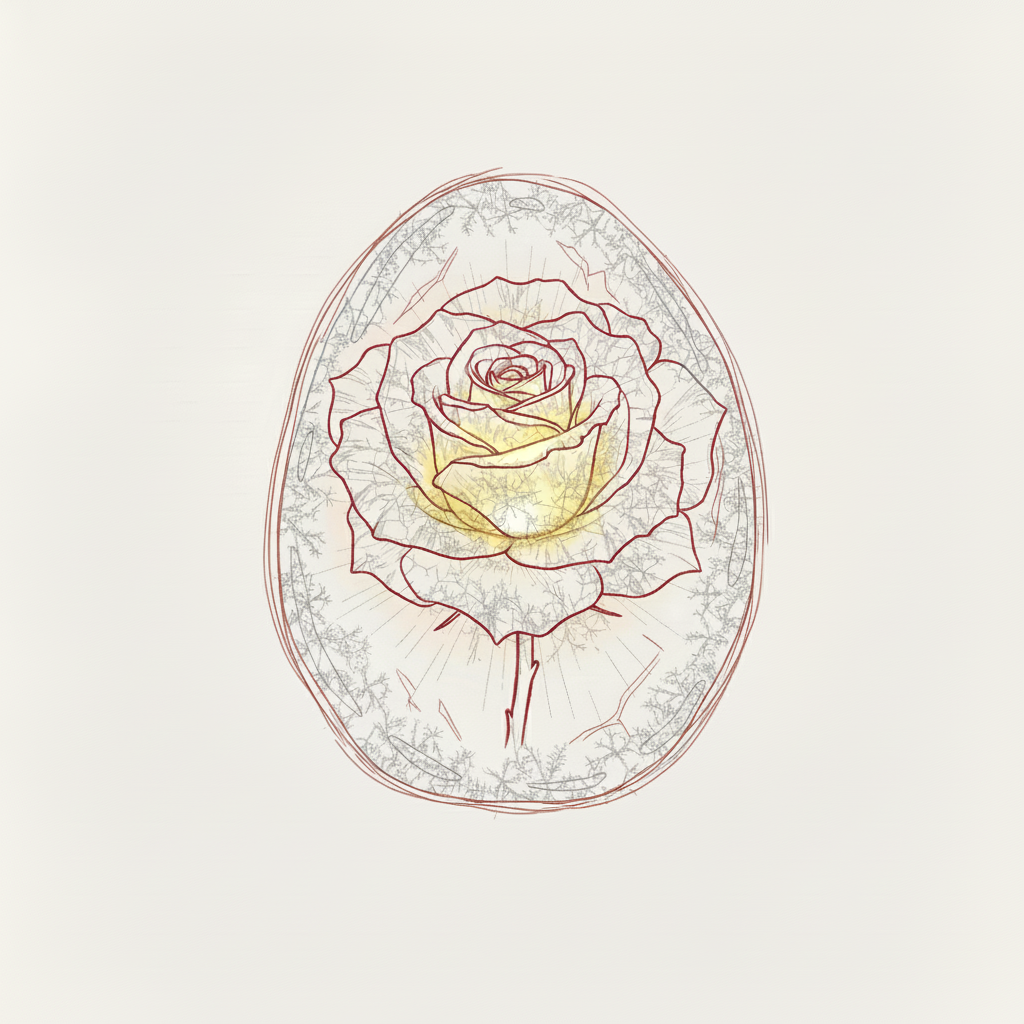
- Step 1: The Inner Bud (The Secret Heart). This is non-negotiable for me. I never start with the outer petals. I always find the very center of the rose and lightly sketch a small, teardrop or egg shape. This little shape is my anchor. Everything else will unfurl from here.
- Step 2: The First Spiral. Now, I draw a soft 'S' shaped line that starts at the top of my teardrop and wraps gently around one side. I try not to make it a hard, definite line; I think of it as a gentle caress. On the other side of the teardrop, I draw another, similar line wrapping the other way. Now I've got something that looks like a small, swirling bud. I feel like I'm already capturing the essential movement of the rose.
- Step 3: Building the "Cup." Okay, this is probably the most important part for me. I think of the next few petals as forming a "cup" that holds the inner bud. From the bottom of my swirling bud, I draw two or three larger, C-shaped petals that cradle the center. I never make them symmetrical. I let one overlap the other slightly. I remind myself of how a real rose looks—it's a beautiful, organic mess.
- Step 4: The Outer Petals (Letting Go). Alright, I feel good that we've built the core structure. Now we can have some fun. The outer petals are where I let loose. They're larger, more open, and have more character. I'll add a little fold at the edge of one, and maybe make another one droop down. I sketch these larger, looser petals around the central cup. This is where I feel my rose drawing gets its unique personality. I'm telling you, don't be afraid to make them varied and irregular.
- Step 5: Shading for Depth. An outline of a rose can look flat. Shading is what I use to bring it to life. I squint my eyes and look for the darkest areas. They will always be where one petal tucks behind another and deep inside that central bud. Gently, with the side of my pencil, I add soft shadows in these areas. I never press hard. I build my shadows up slowly. I promise you, this will instantly make your rose look three-dimensional and real.
The Solution: Practice Makes Progress, Not Perfect
Okay, we've talked about the history, the why, and the how. But I know that reading about drawing is like reading about swimming—it doesn't do you much good until you get in the water. The only way I ever got better was by drawing. And then drawing ten more. For me, each one was a little better than the last.
But I also know that staring at a blank page can be paralyzing. That's what this app is for. I think of it as a pressure-free zone to practice these exact steps. You can browse our gallery of AI-generated art for endless inspiration, or you can let our AI guide you with a custom, frame-by-frame tutorial. It will build the rose with you, one shape at a time. It's the perfect training partner.
Ready to give it a try with me? Click the button below, type in "rose," and let's draw one together.

